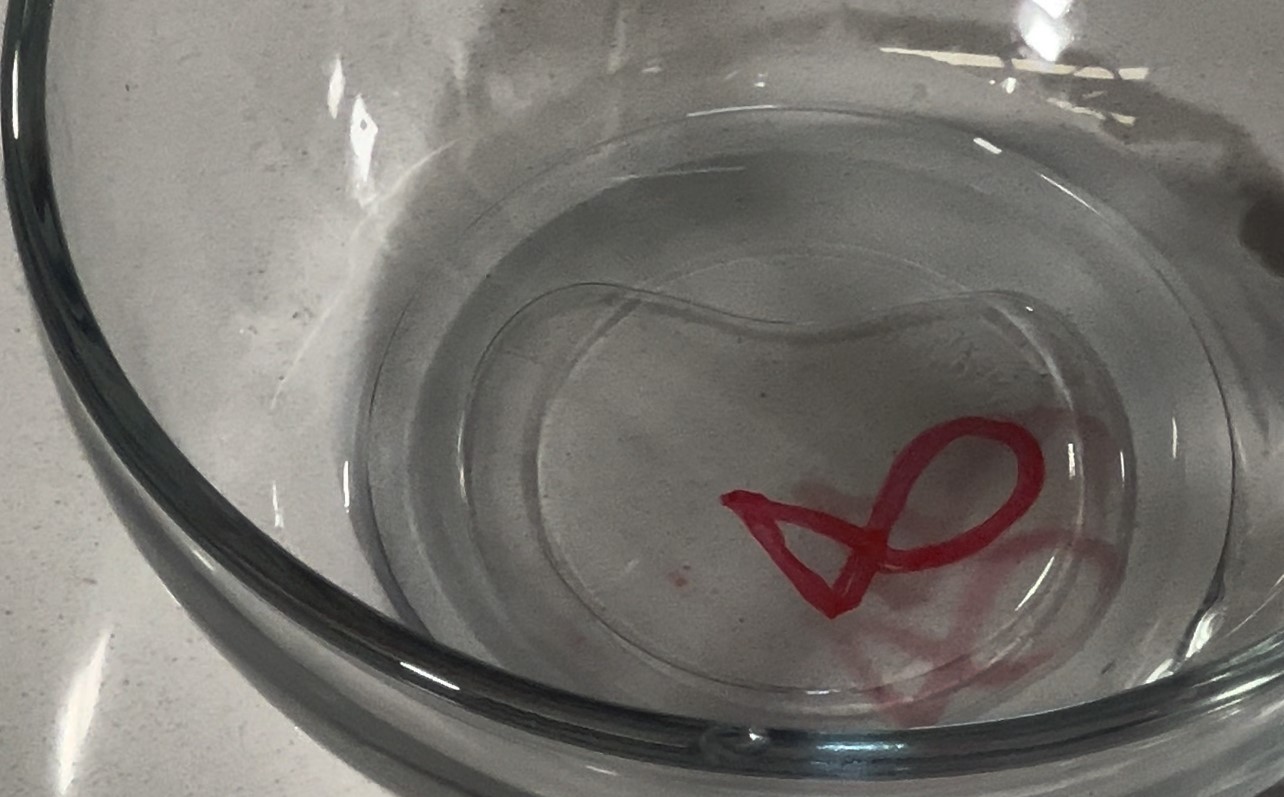
For this episode of “For Science!” we explore the concepts of solubility and density using the “floating fish” experiment.
Because dry erase markers are created to not stick to surfaces, it is made with a chemical that causes it to release from a surface easily. By comparison if we were to use a permanent marker this experiment would not work as the ink used in those markers is designed to stick to surfaces.
Material List
- A glass dish or bowl with a flat surface at the bottom
- Dry erase marker
- Cup of water (easier to pour if cup has a spout, such a measuring cup)
Instructions
- Place dish or bowl on a flat surface. Using the dry erase marker draw a simple fish at the bottom. Make sure to retrace your fish multiple times to ensure that all lines are connected.
- Using the cup of water slowly pour water into the dish or bowl. Pour just inside the rim so that your drawing does not get splashed or poured directly on.
- The water will slowly surround your drawing, lifting your fish from the bottom. If the water splashes or it does not work, simply wipe the dish or bowl and retry.
- Now that you fish has released from the bottom of the dish or bowl tilt it gently from side to side to watch your fish swim around the container.
So why did this happen? Why did our fish float? For two reasons: solubility and density.
Dry erase ink is not water soluble, meaning that it will not dissolve in water. The reason that it floats is because dry erase ink is less dense than the surrounding water, making your drawing buoyant.
There you have it you have made a Floating Fish and you did it, “For Science!”
